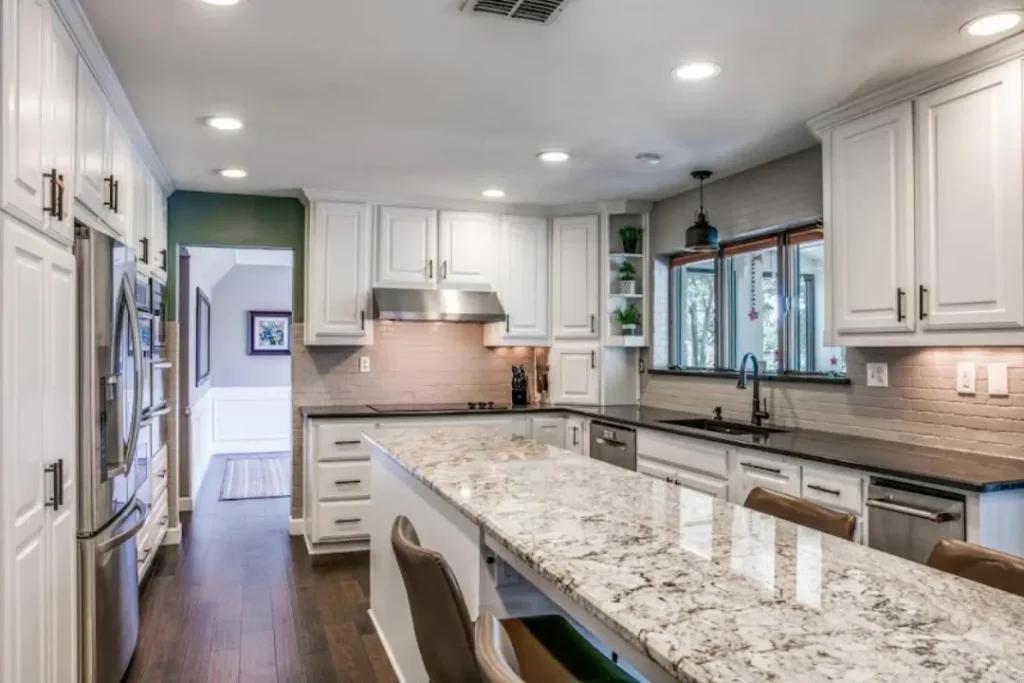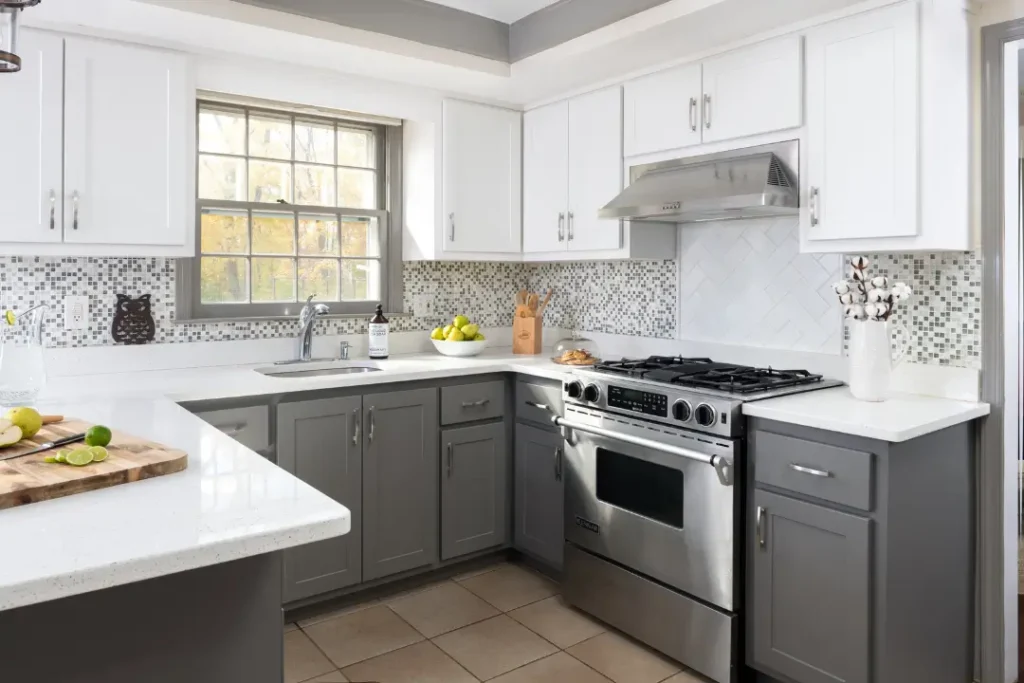
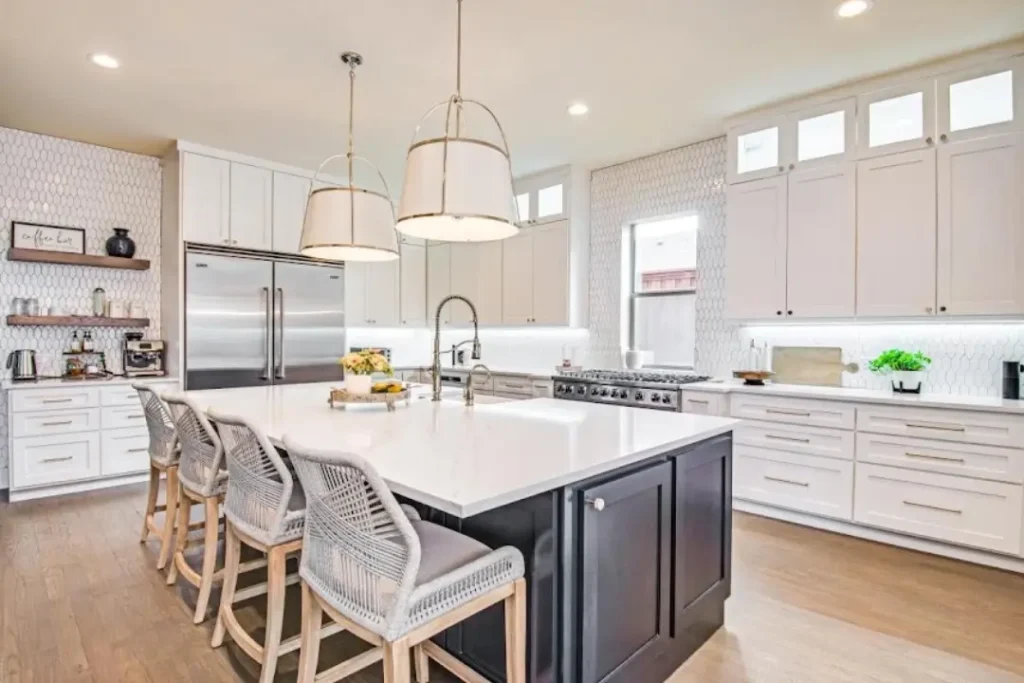
Remodeling your kitchen starts with a clear plan and the right order of work. If you are learning how to remodel kitchen spaces, the work follows planning, estimating, demolition, rough-ins, repairs, installation, and finishing.
Basic cosmetic updates suit DIY projects, but a complete remodel requires a high level of skill.
Read this blog and get how to plan, prepare, install, and finish your kitchen with fewer costly mistakes.
How Do I Remodel My Kitchen
Remodeling a kitchen becomes much easier when you follow a logical order from the start. Here we share the gist from our 20 years of remodeling experience. Let’s check a well-planned sequence:
1. Set Your Remodeling Goals
Start by defining what you want your remodeled kitchen to accomplish. Look closely at the problems with your current space and identify the improvements that matter most.
It can be:
- a need for more storage
- better lighting
- additional counter space
- improved traffic flow
- a different layout.
Next, consider how you use the kitchen every day. Think about cooking habits, storage needs, appliance placement, available workspace, and the way people move through the room.
Gather ideas for cabinets, countertops, flooring, backsplash, lighting, and finishes, then use those ideas to establish a clear direction for the entire remodel.
2. Plan Your Kitchen Layout
With your goals established, develop a practical kitchen layout that fits both the room and your daily routine. Measure the space carefully, including walls, windows, doors, ceiling height, plumbing locations, electrical outlets, and appliance spaces.
Accurate measurements are essential when ordering cabinets and planning installations. So, record every dimension and double-check your measurements before moving forward.
If you are taking the DIY approach, keep the layout manageable unless you have experience with major construction. Moving plumbing, gas lines, or electrical wiring adds complexity and often requires professional work.
Pay close attention to the relationship between your refrigerator, sink, cooking area, preparation space, and storage so the finished layout feels natural.
3. Create A Project Estimate
Before purchasing materials, prepare a detailed estimate that accounts for the entire project rather than only the major items.
Include cabinets, countertops, flooring, backsplash materials, lighting, fixtures, appliances, hardware, paint, tools, permits, delivery fees, and debris removal.
For work that requires outside assistance, include labor costs as well, then compare prices from several suppliers or service providers before making major purchases.
Set aside a portion of your budget for unexpected conditions that may appear during demolition.
If your estimate exceeds your budget, adjust the design before demolition rather than making expensive changes halfway through construction.
4. Check Permits And Codes
Before construction, check local permit and inspection requirements for your remodeling plans. Cosmetic updates usually involve fewer regulations, while electrical, plumbing, structural, ventilation, and gas work often require approval.
Building codes also establish essential safety standards. If specialized work exceeds your experience, hire a qualified professional. Confirming requirements early prevents failed inspections, delays, and costly corrections.
5. Order Materials And Fixtures
After finalizing the design, measurements, and budget, order materials according to your construction schedule. Purchase cabinets early because custom and semi-custom options often require longer lead times. Verify all dimensions before ordering.
When deliveries arrive, inspect every item for damage or missing parts, then store materials safely. Keep receipts, warranties, and installation instructions organized throughout the project.
6. Prepare The Kitchen
Proper preparation protects your home and creates a safer, more organized workspace before demolition and construction begin. Follow these steps before removing existing kitchen materials:
- Remove dishes, food, appliances, furniture, and personal belongings from the kitchen.
- Cover nearby floors and surfaces to protect them from dust and debris.
- Create a temporary food preparation area if your kitchen stays unavailable.
- Shut off appropriate utilities before removing fixtures or beginning demolition.
- Inspect exposed walls, floors, plumbing, and electrical systems after demolition.
- Look for water damage, mold, outdated wiring, or structural deterioration.
- Repair underlying problems before covering them with new kitchen materials.
7. Complete Rough-In Work
After demolition, address plumbing, electrical wiring, ventilation, gas lines, and structural changes before installing finished surfaces. The project scope and local codes determine the required work and sequence.
DIY homeowners should leave specialized systems to qualified professionals when those tasks exceed their experience. Proper rough-in work establishes a safe foundation for cabinets, flooring, walls, and fixtures.
8. Repair Walls And Floors
With rough-in work complete, repair walls and floors affected by demolition or construction. Patch drywall, replace damaged sections, and prepare surfaces for their final finishes. Inspect the floor for moisture damage, uneven areas, cracks, or weak spots that require correction before installation.
Proper surface preparation creates a stable foundation for cabinets, flooring, trim, and countertops. Correct uneven floors and irregular walls early to maintain accurate alignment, cleaner lines, and a polished final appearance throughout the kitchen.
9. Install Sequentially
Follow a planned installation sequence so each component fits properly, avoids unnecessary rework, and keeps the remodeling process organized:
- Cabinets: Install and level cabinets first, securing each unit properly before moving to countertops, appliances, and other finished elements.
- Countertops And Sink: Install countertops after cabinets are secure, then fit the sink and complete plumbing connections before proceeding.
- Flooring And Backsplash: Install flooring and backsplash according to material requirements, maintaining accurate spacing, clean edges, and proper surface preparation throughout.
- Lighting And Hardware: Finish with lighting, cabinet hardware, switches, outlets, faucets, and other details after major installations are complete.
10. Inspect And Clean Up
Before considering the remodel complete, perform a detailed inspection of the entire kitchen and test each major component.
Open every cabinet and drawer, run the faucets, inspect plumbing connections, check appliance clearances, and examine the flooring, backsplash, trim, paint, countertops, and other finished surfaces.
Record anything that requires adjustment or correction and address those details before moving into the final cleanup.
Once the work passes your inspection, remove construction debris and thoroughly clean the remodeled space from top to bottom.
Wipe down cabinets, clean countertops, wash the floors, and remove construction dust from fixtures and appliances.
Take a closer look at each stage of your kitchen remodel with our section-specific guides. Get practical advice for planning, preparing, and completing each part of the project.
How to Remodel Kitchen Cabinets
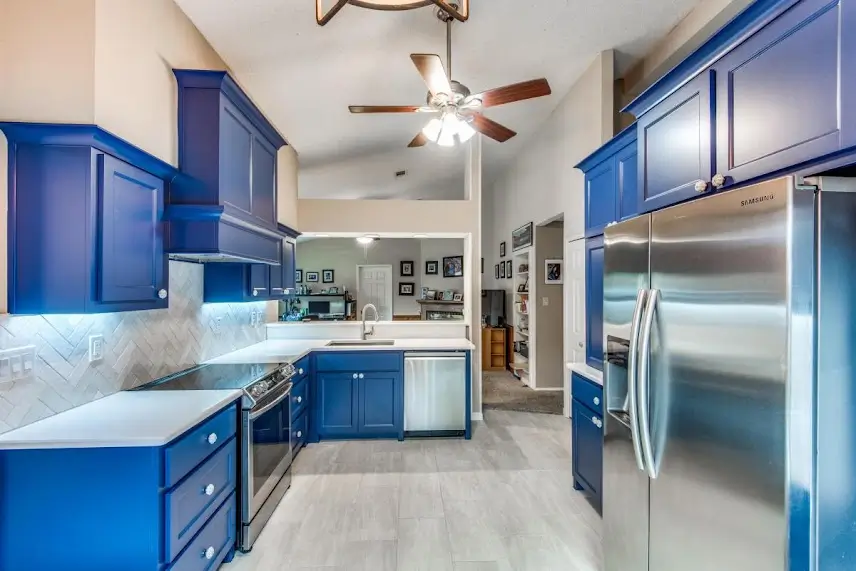
To remodel your kitchen cabinets, first evaluate your storage requirements, existing layout, and cabinet condition. Take precise measurements of walls, openings, appliance spaces, and corners before choosing stock, semi-custom, or custom cabinetry.
During removal, inspect the walls and flooring for moisture damage or uneven areas. Mark cabinet positions carefully, then secure upper and base units according to the planned layout. Keep every cabinet level throughout installation.
Complete the upgrade by fitting doors, drawers, shelves, and hardware. Check clearances around appliances and adjacent surfaces, then adjust hinges and drawer slides as needed. Accurate fitting gives the cabinetry a clean, finished appearance.
How to Remodel Kitchen Countertops
For a kitchen countertop remodel, begin with accurate measurements of cabinet runs, walls, sink openings, and appliance locations. Select quartz, granite, solid surface, laminate, or another material according to durability, maintenance needs, style, and budget.
Remove the existing surface without damaging the cabinets underneath, then inspect the cabinet bases for level and structural stability. Confirm all dimensions before fabrication, including openings for the sink, faucet, and cooktop.
Once the new countertop is installed, examine seams, edges, joints, and cutouts for proper alignment. Secure the sink, connect the plumbing, and check for leaks. Follow the material’s care instructions to maintain its appearance and performance.
How to Remodel Kitchen Island
When remodeling a kitchen island, determine its primary purpose before choosing its size or configuration. Plan space for food preparation, seating, storage, or appliances, then measure surrounding walkways to maintain comfortable movement throughout the room.
Choose cabinet layouts, countertop materials, lighting, outlets, and storage features before construction begins. Islands containing sinks, dishwashers, or cooktops require early planning for plumbing, electrical connections, and ventilation.
After securing the island cabinets, install the countertop, lighting, hardware, and other finishing elements. Check seating clearance, countertop overhangs, appliance connections, and cabinet operation. The finished island should provide useful workspace without restricting traffic.
How to Remodel Kitchen Floor
A kitchen floor remodel starts with a close inspection of the existing surface. Look for moisture damage, cracks, uneven sections, and weak areas, then remove the old flooring and repair the subfloor before laying new material.
Choose tile, luxury vinyl, hardwood, laminate, or another option based on durability, maintenance, moisture exposure, and design preferences. Measure the room carefully and follow the manufacturer’s requirements for underlayment, adhesives, spacing, and installation.
After installation, allow grout, adhesive, or finishes to cure for the required period. Add transitions where different flooring materials meet and finish edges neatly around cabinets and walls. Inspect the completed surface for gaps, loose sections, or damaged pieces.
How to Remodel Kitchen Pantry
For a kitchen pantry remodel, begin by removing stored items and reviewing how you use the available space. Group similar products together, then measure the pantry’s width, depth, height, doorway, and usable wall areas.
Design shelving around your storage habits rather than simply filling every available wall. Adjustable shelves suit changing needs, while pull-out drawers provide easier access to deeper sections. Reserve convenient locations for frequently used ingredients and supplies.
Finish the space with appropriate lighting, durable surfaces, containers, and labels. Check shelf depth and door clearance before loading everything back into the pantry. A thoughtful arrangement keeps supplies visible while making efficient use of limited storage space.
How to Remodel Kitchen Sink
For a kitchen sink remodeling, start by selecting a model that suits your cabinet dimensions, countertop material, plumbing layout, and daily cleaning needs. Compare single-bowl, double-bowl, undermount, top-mount, and farmhouse styles before making a final choice.
Remove the existing fixture and examine the cabinet beneath it for water damage or mold. Repair compromised areas before preparing the countertop opening according to the sink manufacturer’s specifications. Install the faucet and connect the supply and drain lines securely.
Run water through the fixture and inspect every connection for leaks. Check the faucet pressure and confirm that the drain clears water properly. Careful measurements, reliable seals, and secure plumbing connections provide a dependable installation.
How to Remodel Kitchen Backsplash
To remodel your kitchen backsplash, begin by choosing a material that works with the cabinets, countertops, walls, and overall design. Ceramic, porcelain, glass, natural stone, and metal offer different looks and maintenance requirements. Measure the wall area before purchasing materials.
Remove the existing backsplash and repair damaged sections of the wall. Establish level reference lines, plan the pattern around outlets and corners, and make precise cuts before setting each piece. Maintain consistent spacing throughout the installation.
Once the adhesive cures, apply grout according to the product instructions and seal porous materials when required. Remove excess grout and inspect the joints, edges, and corners. Precise preparation and clean installation produce a durable, refined finish.
Is DIY Kitchen Remodeling Safe?
DIY kitchen remodeling is safe for basic, cosmetic updates such as painting, hardware replacement, minor trim work, and simple decorative changes.
Projects involving electrical wiring, plumbing, gas lines, structural changes, or major demolition require qualified professionals.
Common DIY remodeling risks we notice include:
- Structural damage from improper demolition
- Poor-quality material selection
- Incorrect electrical wiring
- Plumbing leaks and water damage
- Improper cabinet installation
- Uneven flooring installation
- Inadequate ventilation installation
- Failed building code inspections
- Hidden damage left unrepaired
- Costly corrections after poor workmanship.
How Do We Help Homeowners Remodel Their Kitchen?
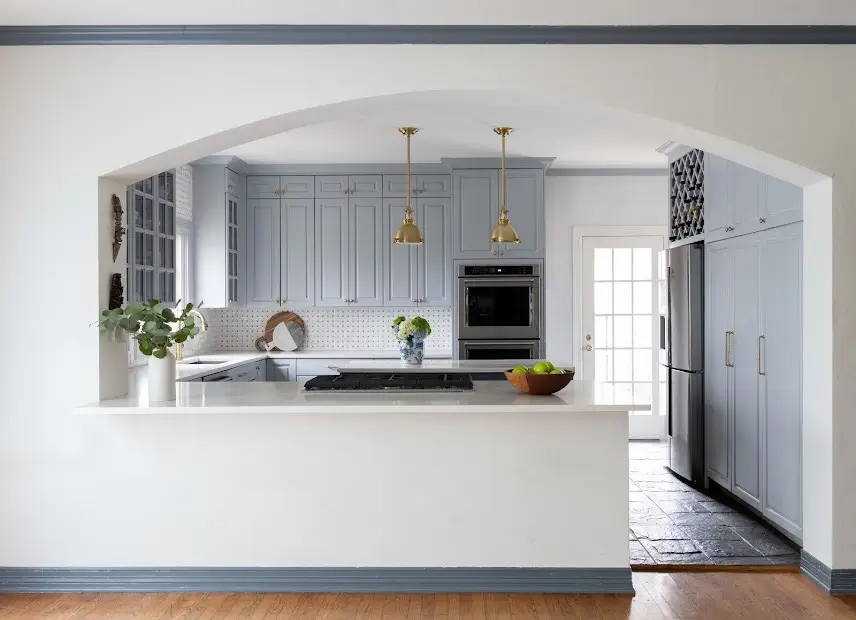
Since 2020, Betterment Home Improvement has helped Oklahoma’s homeowners turn outdated kitchens into practical, inviting spaces. Every project begins with careful planning and clear communication. Below is a brief overview of our approach:
Understand Your Goals
Every kitchen remodel starts with your needs. We take time to understand how you use the space, what feels inefficient, and which improvements matter most. Your preferences for layout, storage, materials, finishes, and budget guide the design, giving the project a clear direction from the beginning.
Create A Detailed Plan
Strong results come from careful preparation. We review measurements, cabinet configurations, appliance placement, material selections, and project requirements before construction begins. Our team builds a detailed plan around your kitchen’s layout and remodeling goals, creating a clear sequence for each stage of the work.
Coordinate The Project
A kitchen remodel involves many moving parts, from demolition and preparation to cabinetry, countertops, flooring, lighting, and finishing work. We coordinate each stage according to the planned sequence, keeping installations organized and details aligned. This approach creates a smoother remodeling experience while maintaining consistency throughout the project.
Focus On Quality
Quality workmanship goes into every part of the finished kitchen. We select materials suited to the project and follow careful installation practices for cabinets, countertops, flooring, fixtures, and other components. Before completing the remodel, we review the finished work for alignment, function, fit, and overall finish.
Wrapping Up
A successful kitchen remodel starts with decisions made before demolition begins. Photograph hidden plumbing and wiring before covering walls, label every removed component, keep product specifications together, and order long-lead materials early. These small steps rarely receive attention, yet they prevent confusion, protect your budget, and make later repairs easier.
Professional remodeling requires more than installation skills. Experienced contractors coordinate permits, measurements, material selection, trades, and construction safety while following the correct sequence. We are a renowned kitchen remodeling contractor in Tulsa and nearby cities in Oklahoma, delivering planned renovations. Contact us to discuss your kitchen remodeling project.