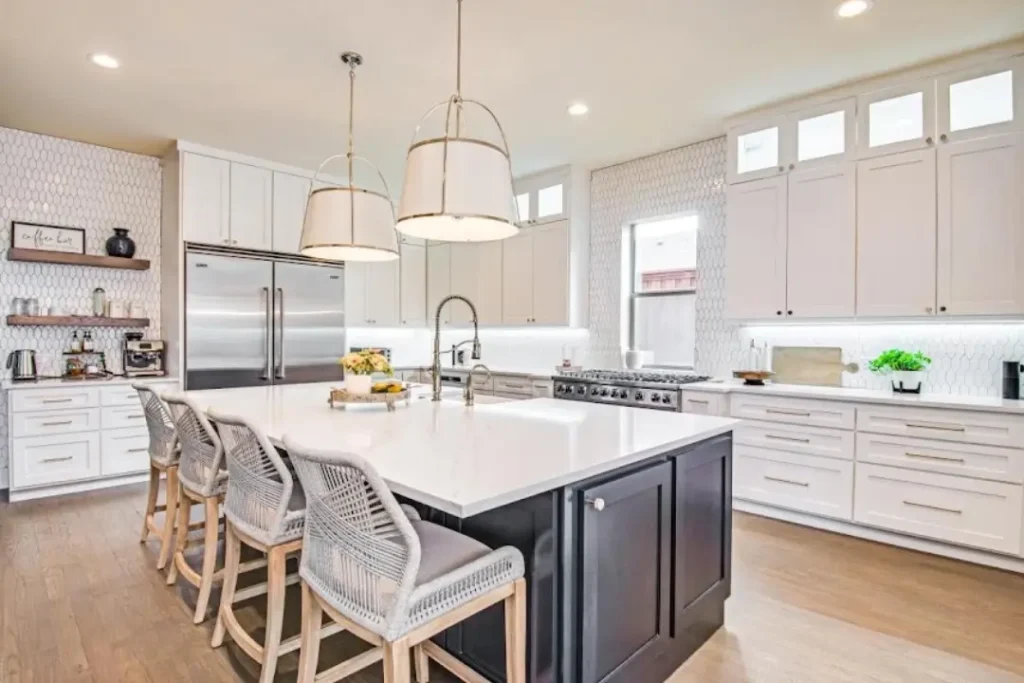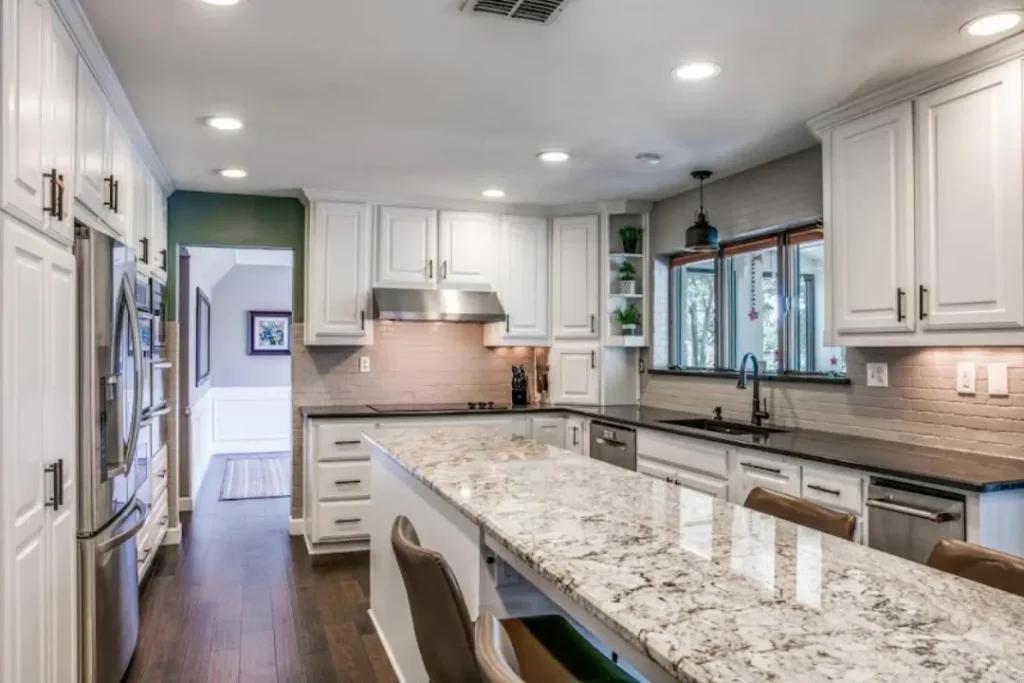
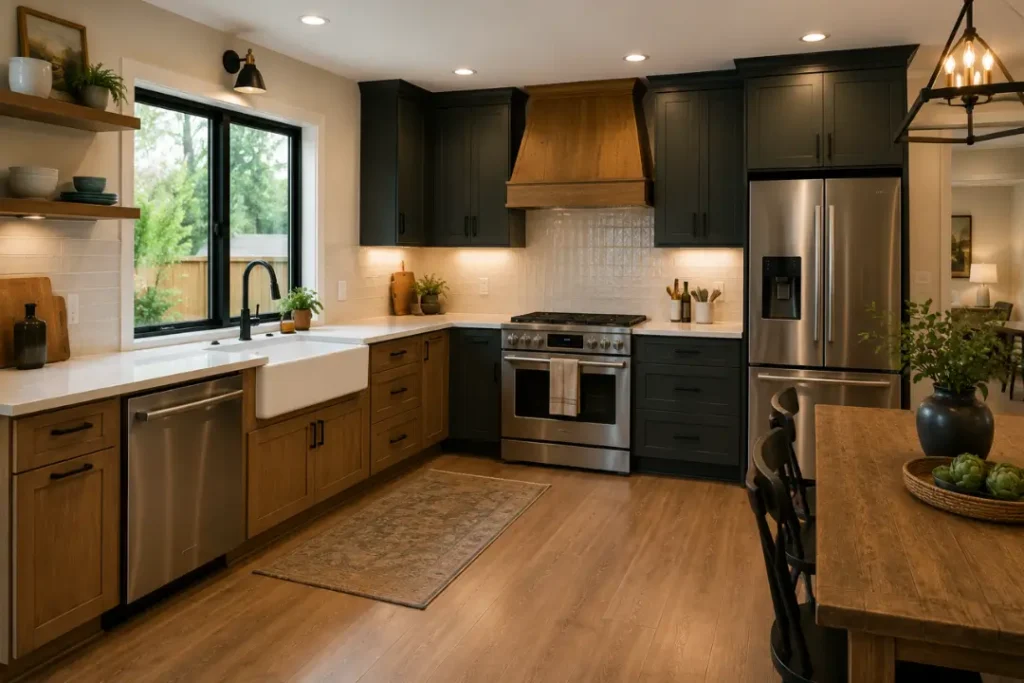
When remodeling a kitchen island, we start with accurate measurements, a practical layout, and clear goals for storage, seating, appliances, and workspace. Next, our remodelers prepare the area, install the new island base, add countertops and features, complete electrical and plumbing connections, and inspect the finished work.
A structured remodeling process like this delivers better function, lasting quality, and a polished result. Explore the guide to learn how we transform kitchen islands with practical layouts, quality materials, and careful craftsmanship.
Kitchen Island Remodeling Types Based on Your Goals
Kitchen island remodeling can involve small updates, expansions, or complete kitchen remodeling with a redesigned island. Here is a quick overview:
Update
An update may include new paint, hardware, lighting, countertop replacement, or minor repairs. These changes refresh the island’s look while keeping its main structure and layout intact.
Expand
An expansion may add countertop space, seating, storage, or changes to the island’s size. This option suits kitchens that need more function without a full island rebuild.
Complete Remodeling
Complete remodeling may involve new cabinets, countertops, electrical work, plumbing, lighting, storage, and layout changes. It transforms the island’s design, function, structure, and overall appearance.
What to Consider before Planning a Kitchen Island Remodel
Good planning creates an island that fits your kitchen and daily needs. Before remodeling your kitchen island, consider these:
☉ Size: Choose an island size that fits the kitchen while leaving enough room for movement.
☉ Function: Decide whether the island will support food preparation, cooking, dining, storage, or multiple tasks.
☉ Measurements: Measure the island area, surrounding clearance, countertops, walkways, and nearby cabinets before finalizing the design.
☉ Storage: Plan drawers, cabinets, shelves, or specialty storage based on your kitchen organization needs.
☉ Seating: Determine how many seats you need and allow enough legroom for comfortable dining.
☉ Appliances: Decide whether the island will include a sink, dishwasher, cooktop, microwave, or other appliances.
☉ Electrical/Plumbing Needs: Identify required outlets, wiring, water lines, drainage, and gas connections before construction begins.
☉ Materials: Select countertop, cabinet, hardware, and finish materials that match your style and durability needs.
☉ Budget: Set a clear budget that includes materials, labor, permits, installation, and possible unexpected expenses.
How to Do a Kitchen Island Remodel: Our Team’s Approach
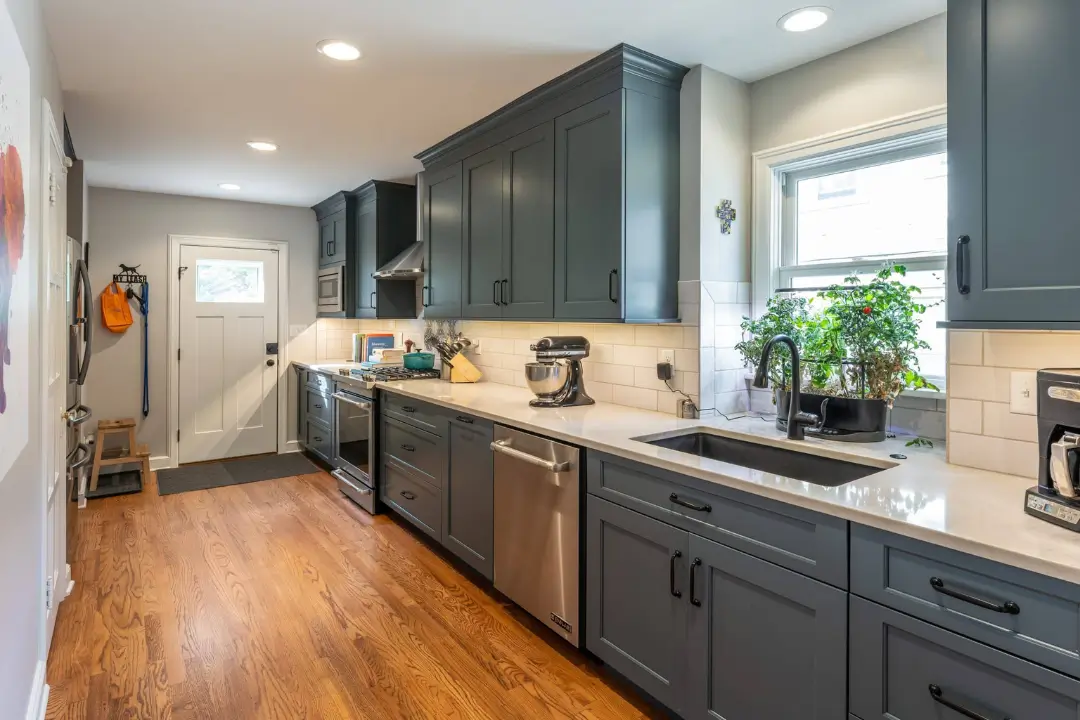
A successful kitchen island remodel takes more than new cabinets and countertops. As a company offering kitchen remodeling services in Tulsa and other cities across Oklahoma, here are the steps we follow to bring your vision to life.
Initial Design and Planning
We begin by understanding how you want the island to work and review your goals, kitchen style, storage needs, seating preferences, and daily routines. Precise measurements let us determine the right size and placement while keeping walkways comfortable.
Our remodelers also consider countertops, appliances, lighting, electrical work, plumbing, and budget. This planning stage creates a clear direction and prevents costly design changes once construction begins.
Remove Existing Island
Before demolition starts, we protect nearby floors, cabinets, walls, and fixtures from damage. Electrical and plumbing connections are disconnected when needed. Cabinets, countertops, and other island components are then removed with care.
Once the old island is gone, our team inspects the exposed area for hidden damage, outdated wiring, plumbing problems, or structural concerns. Finding these issues early makes the next stage easier and safer.
Prepare and Repair
A new island needs a solid, level foundation. We inspect the exposed area for uneven flooring, damage, plumbing concerns, electrical issues, and structural problems before installation begins.
Necessary repairs come first, followed by floor and surface preparation. Our crews handles these details before the new island arrives, helping create a stable base and reducing the risk of installation problems later.
Install Cabinets and Base
With the space ready, we position the new island cabinets according to the approved design and secure them to the floor or supporting structure. Careful attention goes to height, spacing, alignment, and level.
A properly installed cabinet base gives the island strength and stability. It also provides the foundation for countertops, drawers, doors, appliances, storage features, and seating areas planned for the finished design.
Install Countertop and Features
The island begins to show its finished character once the countertop and selected features are installed. Depending on the design, additions may include a sink, cooktop, seating overhang, storage accessories, or decorative panels.
Precise openings are created for fixtures and appliances, while careful fitting keeps the countertop level and secure. Each feature is positioned to support both the island’s appearance and everyday function.
Complete Electrical and Plumbing
Modern kitchen islands often need more than countertop space. We may include outlets, lighting, appliance connections, water lines, drainage, or other utility features. Required connections are completed according to the approved design.
Qualified professionals handle specialized electrical and plumbing work when needed. Each connection receives testing before the project moves forward, helping confirm proper operation and reducing the chance of future utility problems.
Final Inspection and Finishing
The final stage gives every part of the remodel another careful review. Cabinet alignment, countertop placement, surface quality, fixtures, stability, and utility connections are inspected before the project is considered complete.
Any needed adjustments are handled before cleanup. We then review the finished island with you, confirming that the final result matches the approved design and delivers the function, comfort, and appearance you expected.
Kitchen Island Layout Ideas to Transform Your Space
A well-planned island can become the kitchen’s main attraction while adding workspace, storage, or seating. Let’s check out some modern kitchen island layout ideas:
Single-Level Island
A single-level island creates one smooth, uninterrupted countertop for cooking, serving, and dining. The open surface makes meal preparation easier and gives the kitchen a clean, modern feel. Cabinets and drawers beneath the counter provide valuable storage without taking away workspace. Adding comfortable stools can also turn the island into a casual family gathering spot.
Multi-Level Island
A multi-level island separates different kitchen activities through varied countertop heights. One section can handle chopping and meal preparation, while a raised section provides a comfortable dining area. The height difference can also help conceal dishes, cooking tools, or countertop clutter from guests. It’s a smart choice for homeowners who want several functions in one island.
Seating-Focused Island
A seating-focused island turns the kitchen into a natural place for meals, conversations, homework, and family time. A generous countertop overhang creates enough legroom for stools, while cabinets on the opposite side add storage. Positioning seats away from busy cooking zones improves comfort and keeps kitchen traffic moving without constant interruptions.
Work-Focused Island
A work-focused island puts cooking and preparation at the center of the design. A sink, cooktop, cutting area, deep drawers, and utensil storage can keep essential tools close at hand. The layout works well for homeowners who enjoy cooking and need more preparation space. Enough clearance around the island remains essential for safe, smooth movement.
L-Shaped Island
An L-shaped island brings two connected sections together, creating more workspace without limiting the kitchen to one straight counter. One side can handle food preparation while another provides seating or extra storage. The layout suits larger kitchens where space allows comfortable movement around the extended shape. Careful planning prevents corners from becoming difficult-to-use areas.
Some Affordable Kitchen Island Remodeling Ideas
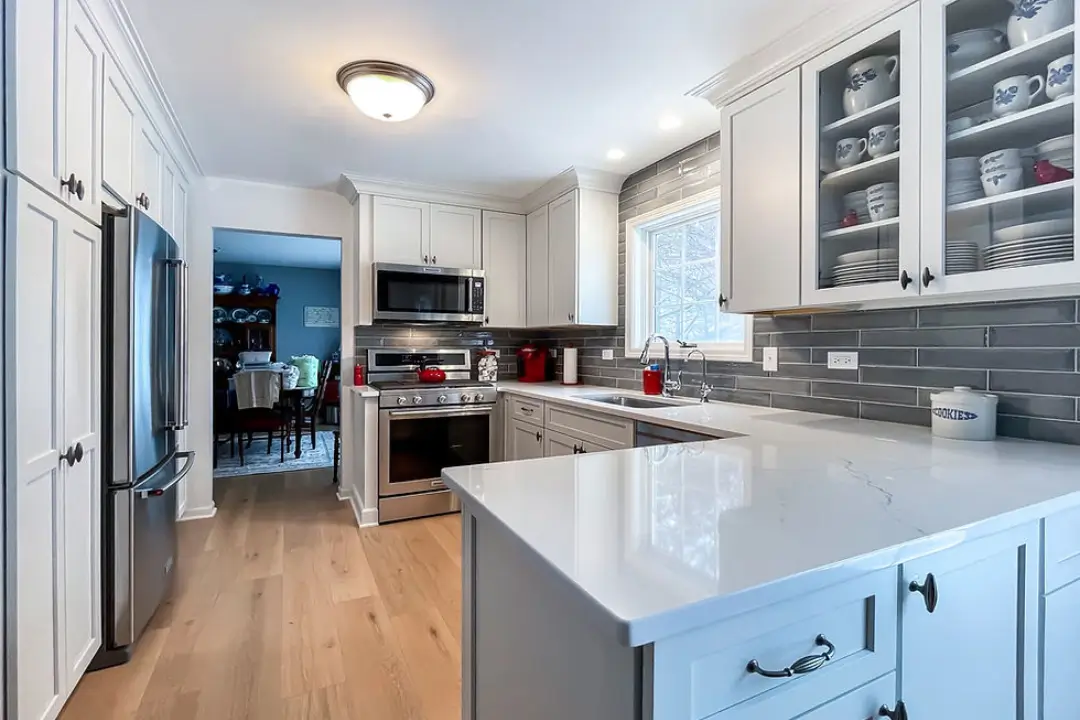
You can refresh your kitchen island without a major investment by focusing on high-impact changes. Small upgrades like these can improve its style, function, and overall appearance.
☉ Refresh With Paint: A fresh coat of paint can give dated cabinets a clean, updated appearance.
☉ Upgrade Cabinet Hardware: Replace old knobs and pulls with modern hardware for an instant style improvement.
☉ Replace the Countertop: A new countertop can change the island’s appearance without rebuilding the entire structure.
☉ Add Better Lighting: Pendant lights can create a focal point while improving visibility over the island.
☉ Improve Island Storage: Add drawer organizers, pull-out shelves, or baskets to make existing storage more useful.
☉ Add Decorative Paneling: Decorative panels can give plain island sides a custom look without major construction.
☉ Install Open Shelving: Open shelves provide accessible storage while adding character and displaying attractive kitchen items.
☉ Add a Countertop Overhang: A modest overhang can create space for seating without replacing the entire island.
☉ Update the Island Trim: New trim or molding can add architectural detail and make a basic island look custom.
☉ Replace Cabinet Doors: New cabinet doors can modernize the island while keeping the existing cabinet boxes.
Latest Island Design Trends to Modernize Your Kitchen
Kitchen islands are becoming more useful, stylish, and flexible in modern homes. These trends combine smart storage, comfortable seating, bold finishes, and practical features.
Waterfall Countertop Edges
Waterfall countertops continue to create a polished, high-end appearance by extending the countertop material down the island sides. The seamless edge highlights natural stone, quartz, or other surfaces while giving the island a strong visual presence. The design works well in modern kitchens where clean lines and simple details take center stage.
Mixed Material Islands
Combining different materials can give a kitchen island more character and visual depth. Designers may pair wood cabinets with stone countertops, contrasting finishes, or decorative side panels. Mixed materials also help define separate areas for cooking, seating, and storage. The approach creates a custom appearance without requiring an overly complex island design.
Large Statement Islands
Larger islands are becoming a major focal point in spacious kitchens, offering room for preparation, storage, seating, and appliances. A generous surface can support several activities at once without feeling crowded. Homeowners can also use bold countertops, distinctive lighting, or contrasting cabinetry to make the island stand out as the kitchen’s centerpiece.
Hidden Storage Solutions
Hidden storage helps keep countertops clear while making better use of available cabinet space. Deep drawers, pull-out shelves, appliance garages, and specialized organizers can store cookware, utensils, and small appliances. The approach supports a cleaner kitchen appearance and makes frequently used items easier to access without filling the island with visible clutter.
Integrated Kitchen Appliances
Built-in appliances are becoming more common in kitchen island designs because they save space and support efficient workflows. Sinks, dishwashers, cooktops, microwaves, and beverage refrigerators can fit into the island when planned from the start. Proper placement keeps cooking tasks organized while maintaining comfortable clearance for seating and movement around the island.
Comfortable Multi-Use Seating
Kitchen islands are serving more roles beyond food preparation, with seating designed for meals, conversations, work, and family activities. Wider overhangs, comfortable stools, and varied countertop heights can improve the experience. Thoughtful seating layouts also keep guests close to the kitchen without placing them directly inside busy cooking and preparation zones.
Warm Natural Wood Finishes
Natural wood finishes bring warmth and texture to kitchen islands while balancing modern materials such as quartz and stone. Oak, walnut, and other wood tones can create a welcoming focal point. Wood also works across several design styles, from traditional kitchens to contemporary spaces with simple cabinetry and clean architectural lines.
Bold Island Color Contrast
A contrasting island color can create a strong focal point without changing the entire kitchen. Deep green, navy, charcoal, warm wood tones, and other distinctive finishes can separate the island from surrounding cabinets. The contrast adds personality while giving homeowners an easy way to introduce color into an otherwise neutral kitchen design.
Final Words
A successful kitchen island remodel is not about making the island bigger or more expensive. Prioritize clear walkways, useful storage, comfortable seating, and task placement before choosing finishes. A smaller island with smart features can outperform a large island that blocks movement or wastes valuable workspace.
Betterment Home Improvement helps homeowners plan, remodel, and upgrade kitchen islands around their needs and budget. From design and material selection to installation and finishing, we handle each stage. Call us at (918) 557-0620 today to discuss your kitchen island project and get a project estimate.