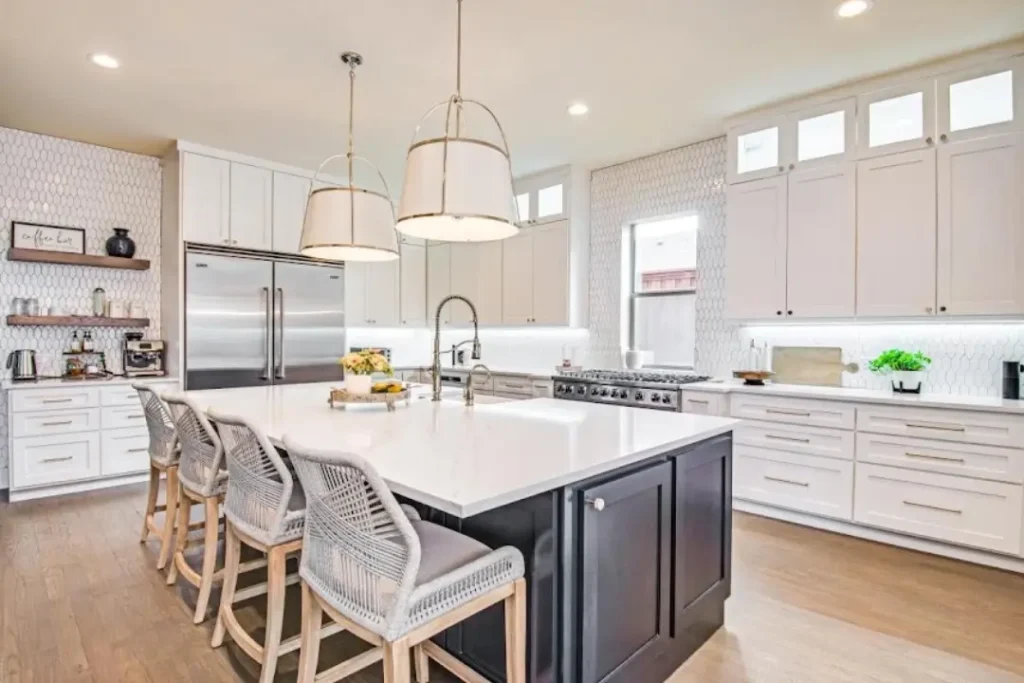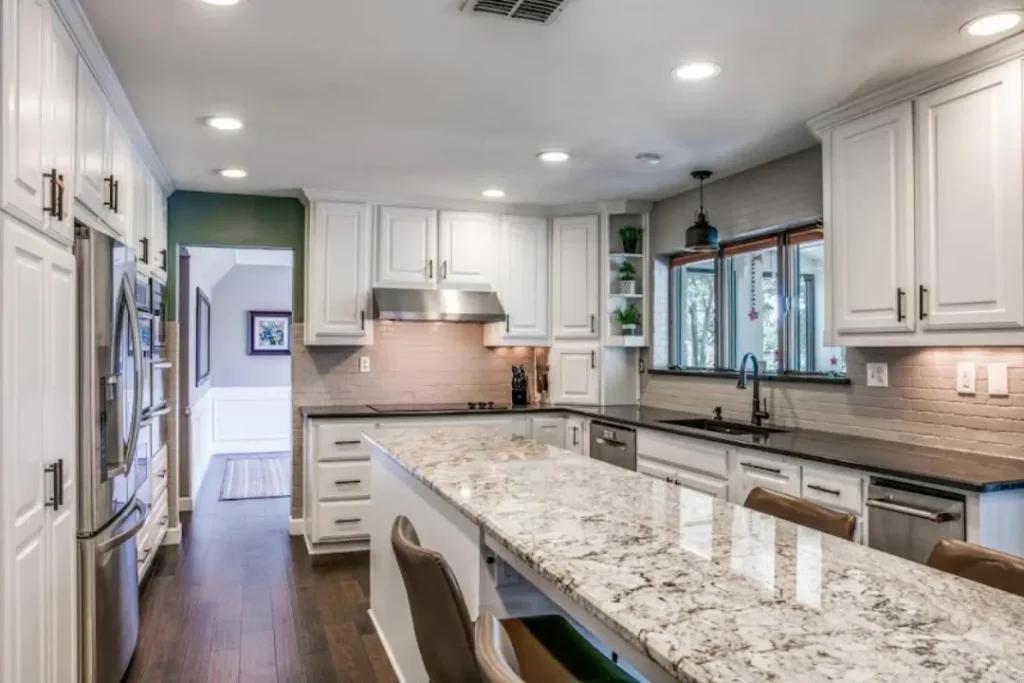
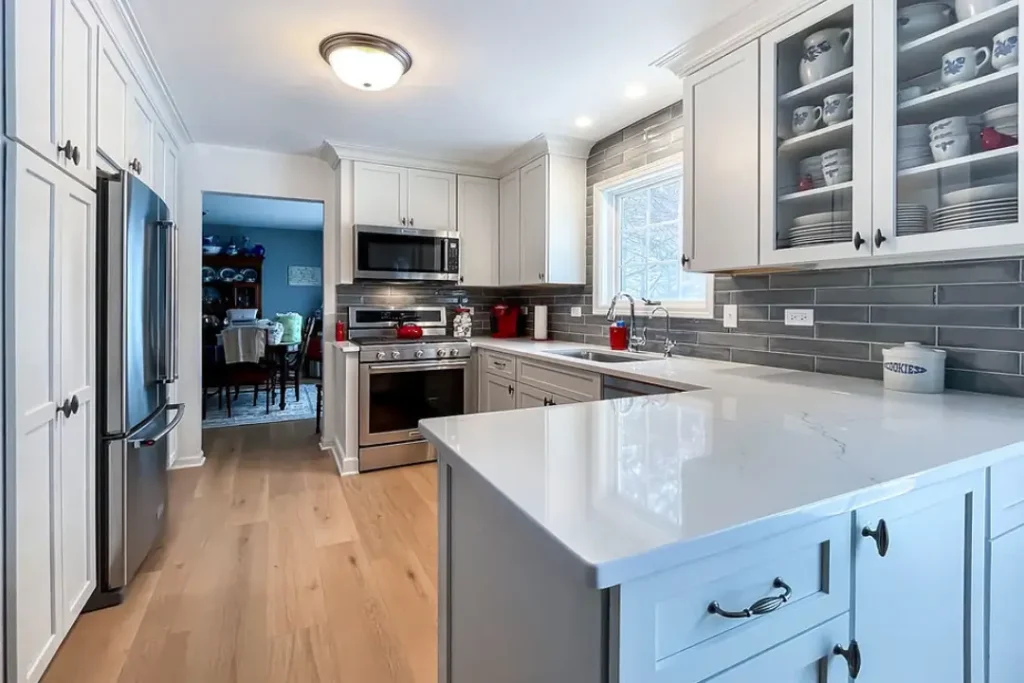
Remodeling a kitchen backsplash starts with choosing the right material and planning the installation properly. The steps include measuring, dry-fitting, applying the installation material, installing the backsplash, and finishing the joints.
Our clients often ask which materials work best and what the remodeling process involves. That’s why this guide covers both the choices and the actual steps involved in a backsplash project.
What Backsplash Materials Are Available?
Walk into stores across Oklahoma, and you’ll find multiple backsplash options, each promising a different look and performance level. The best choice depends on your kitchen’s heat, moisture, cleaning needs, and everyday use.
- Ceramic: Affordable, heat-resistant, and easy to clean, though grout requires regular maintenance and the tiles can chip under strong impacts.
- Porcelain: Highly durable and moisture-resistant, with low absorption and minimal maintenance needs. It withstands heat well and resists stains and scratches.
- Glass: Nonporous and easy to clean, offering strong moisture resistance and visual brightness. However, it can scratch or crack more easily.
- Natural Stone: Durable and heat-resistant, with a distinctive appearance, but porous varieties may absorb moisture and stains without regular sealing.
- Stainless Steel: Heat-resistant, nonporous, and simple to clean, making it suitable behind cooktops, although fingerprints and scratches can remain visible.
- Metal Panels: Durable and moisture-resistant, providing a sleek appearance with easy cleaning, although some metals may dent, scratch, or require polishing.
- Porcelain Slabs: Highly durable, heat-resistant, and nearly nonporous, requiring little maintenance. Their large format also reduces grout lines and cleaning requirements.
- Peel-and-Stick Panels: Easy to install and clean, but generally less durable and heat-resistant, with performance varying based on material quality.
Which Options Work Best Behind A Stove or Sink?
A stove and sink may share the same kitchen, but their backsplash requirements are not similar. Below, we’ll break down the best material options for each area.
Good Options Behind a Stove
- Glazed Ceramic: Glazed ceramic tiles handle everyday cooking heat well and offer a durable, easy-to-clean surface. Their wide range of colors, shapes, and patterns also makes them versatile for kitchen designs.
- Porcelain: Porcelain works well behind stoves because it is highly durable, heat-resistant, and less porous than many other materials. It also resists stains, scratches, and moisture, making routine cleaning easier.
- Glass: Glass backsplash panels or tiles provide a smooth, nonporous surface that handles kitchen moisture and heat well. Their clear appearance also makes grease and food splatters relatively easy to wipe away.
- Stainless Steel: Stainless steel is especially practical behind a stove because it tolerates heat, resists moisture, and cleans easily. Its modern appearance also complements contemporary kitchens and professional-style cooking appliances.
Options Behind or Around a Sink
Around a sink, prioritize low-porosity surfaces and water-resistant joints to prevent moisture from penetrating behind the backsplash. Porcelain, glass, glazed ceramic, and stainless steel are practical choices because they resist water and simplify cleaning around frequently splashed areas.
How Do You Choose Tile Color, Size, Pattern, and Grout?
We often see homeowners struggle to choose the right backsplash details. They can ask us for suggestions to find choices that suit their kitchen.
Color
Choose a tile color that works with your cabinets, countertops, flooring, and kitchen style. Light colors can make a small kitchen look bigger, while darker colors create more contrast. Also, check how the color looks under your kitchen’s natural and artificial lighting.
Tile Size
Tile size can change the overall look of your kitchen. Large tiles create a clean, simple appearance with fewer grout lines, while small tiles add more detail. Consider your wall size, cabinet placement, and the style you want before choosing the right tile size.
Pattern and Layout
The tile pattern can add interest to your backsplash. A straight or stacked layout gives a simple, modern look, while herringbone or offset patterns create more visual movement. Choose a pattern that fits your kitchen without making the space look too busy or crowded.
Grout
Grout affects both the look and maintenance of your backsplash. Matching grout creates a more seamless appearance, while contrasting grout makes each tile stand out. For areas near the stove or sink, choose grout that handles moisture well and is easy to clean.
Can You Install A New Backsplash over the Existing One?
You can install a new backsplash over the old one in some cases. The existing surface must be firmly attached, clean, dry, flat, and structurally sound. It should not have loose, cracked, or damaged areas that could affect the new installation.
So, we recommend checking the old backsplash carefully before covering it. If it is uneven, loose, or damaged, removing it is usually the better choice. Installing over a poor surface can lead to loose tiles, cracks, or other problems with the new backsplash.
Wall Preparation before Kitchen Backsplash Remodeling
Wall preparation can take two different approaches based on the existing backsplash. We do both as part of Oklahoma’s kitchen remodeling works, depending on your wall’s condition.
If Removing the Old Backsplash
- Remove the old backsplash carefully to avoid unnecessary wall damage.
- Scrape away old adhesive, grout, and loose pieces.
- Check the wall for holes, cracks, or other damage.
- Repair damaged areas before installing the new backsplash.
- Make sure the wall is clean, dry, smooth, and flat.
If Installing Over the Existing Backsplash
- Make sure the existing backsplash is firmly attached to the wall.
- Clean the surface to remove grease, dirt, and dust.
- Remove any loose tiles, grout, or other material.
- Fix uneven areas that could affect the new backsplash.
- Make sure the surface is completely dry before installation.
How to Remodel Your Kitchen Backsplash
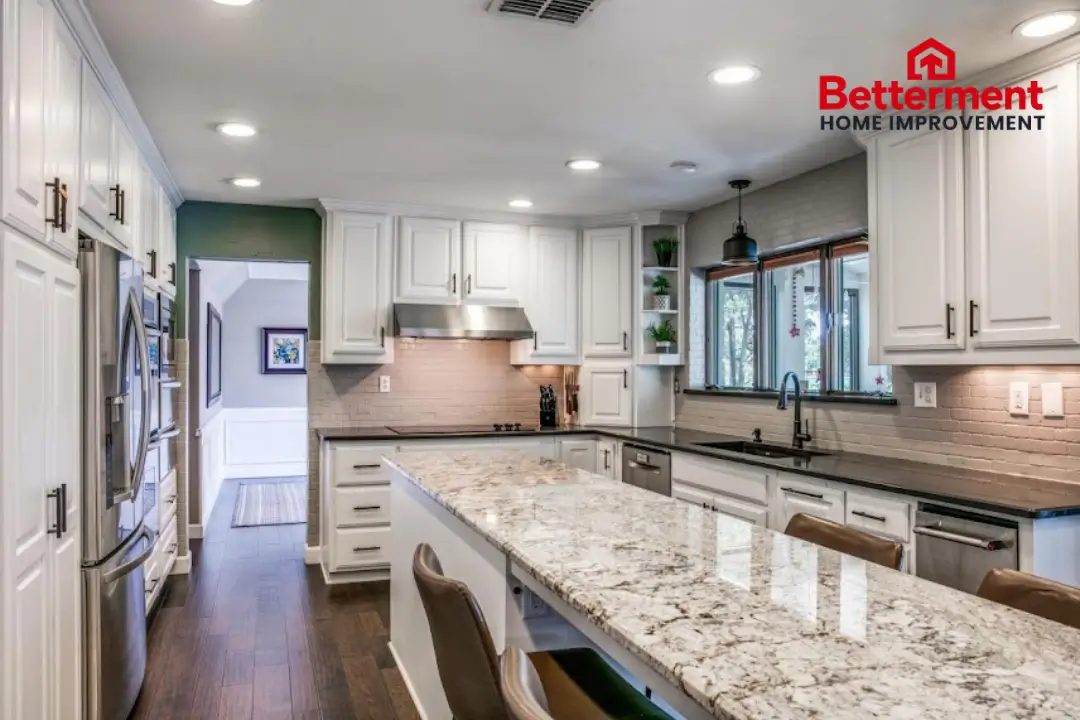
Our kitchen backsplash remodeling process follows a clear series of steps. Below, see the steps we follow to plan, install, and finish your new backsplash.
1. Measure and Plan the Backsplash Area
It begins with measuring every wall section where the new backsplash will go. We measure the height and width and note corners, windows, outlets, and the range area to calculate the total square footage.
Some kitchen walls are not straightforward, so our team also measures difficult areas around corners, cabinets, windows, and outlets carefully.
In Oklahoma homes, kitchen layouts, home styles, and existing conditions can vary, which may affect material estimates and project planning.
As part of planning, we add 10% waste for cuts, breakage, and mistakes. Our team then check the substrate to make sure it is ready for installation and calculate the tile quantity, grout, and trim needed.
We also consider the budget at this stage so the material choices stay within the planned cost.
2. Dry-Fit the Layout
Before applying any adhesive, the tiles are dry-fit to check the layout. We start at the centerline and work outward, using spacers to check the pattern and spacing.
This gives us a chance to check symmetry and plan the cuts before installation. Our remodelers also review slivers near the edges, outlet clearances, corners, and endpoints carefully. If edge trim is needed, its position is also checked at this stage.
The installation material is selected based on the tile type, substrate, and location. We choose thinset or tile mastic according to the material and the manufacturer’s requirements.
Dry-fitting may take some extra time, but it catches layout problems before the tiles are permanently installed. Besides, homeowner also get a better idea of how the finished backsplash will look.
3. Apply the Installation Material
Once the layout is ready, the substrate needs to be clean, flat, and dry. The installation material depends on the tile type, substrate, and project conditions.
For example, thinset works well for many tile installations, while tile mastic may be suitable for certain indoor applications.
Next, the correct notched trowel is used to spread the material evenly and provide proper coverage behind the tiles. We follow the manufacturer’s instructions when choosing the right product and application method.
It is also important to watch the open time, which shows how long the material stays workable. Applying too much at once can cause problems if it starts to dry before the tiles are installed.
4. Install the Backsplash
Installation starts at the level reference line and moves across the wall one section at a time. We press each tile firmly into the adhesive and use spacers to maintain uniform joints.
As the work continues, a level keeps the rows straight, while a plumb check keeps the vertical lines aligned. Around outlets, careful measurements creates clean outlet cuts and a proper fit.
We also check the layout during installation to catch any issues early. Once all the tiles are in place, we allow the adhesive to set according to the recommended cure time before moving to the next step.
5. Finish the Joints and Edges
After the adhesive reaches the required cure time, the joints and edges are ready for finishing.
Grout goes on with a grout float, working diagonally across the tile joints. We remove excess grout, and clean the surface to reduce grout haze.
Caulk goes along the countertop joint, inside corners, and backsplash perimeter. These areas need flexible joints because the surfaces can move slightly over time.
Finally, exposed edges get bullnose tiles or Schluter edge trim, depending on the tile thickness, exposed edge, and finished look.
We choose the option that fits the tile properly and gives the backsplash a clean, finished appearance.
Beginner-friendly Alternatives to Kitchen Backsplash Remodeling
If you’re not planning a major remodeling project, several affordable ideas can still refresh your kitchen backsplash. Below are some simple options to consider.
- Peel-and-Stick Tile: Easy to cut and install, peel-and-stick tile offers a quick backsplash update without mortar, grout, or specialized installation tools.
- Removable Wallpaper: Removable wallpaper adds color and patterns quickly. Choose kitchen-friendly options designed to handle moisture and occasional cleaning.
- Beadboard: Beadboard creates a simple, classic look and can work well in kitchens. Paint it to match your cabinets or walls.
- Paintable Backsplash Panels: Paintable backsplash panels provide a simple way to create texture or a custom color without installing individual tiles or grout.
- Stainless-Steel Sheets: Stainless-steel sheets offer a smooth, modern surface that handles heat and moisture well while requiring relatively simple installation.
- Countertop-to-Cabinet Laminate Panels: Laminate panels can extend the countertop material up the wall, creating a seamless look with fewer joints and simple maintenance.
Wrapping up
A beautiful backsplash can change your entire kitchen, but a poor installation can quickly turn that upgrade into a problem. A long-lasting result starts with accurate measurements, proper installation, safety, and the right materials.
Even premium material may not perform well without careful installation and attention to detail. A professional remodeling team handle the work safely and accurately, especially around outlets and the range area.
If you’re planning a kitchen backsplash remodeling project, contact us at (918) 557-0620. We’re ready to discuss your project and help you choose the right approach for your kitchen.