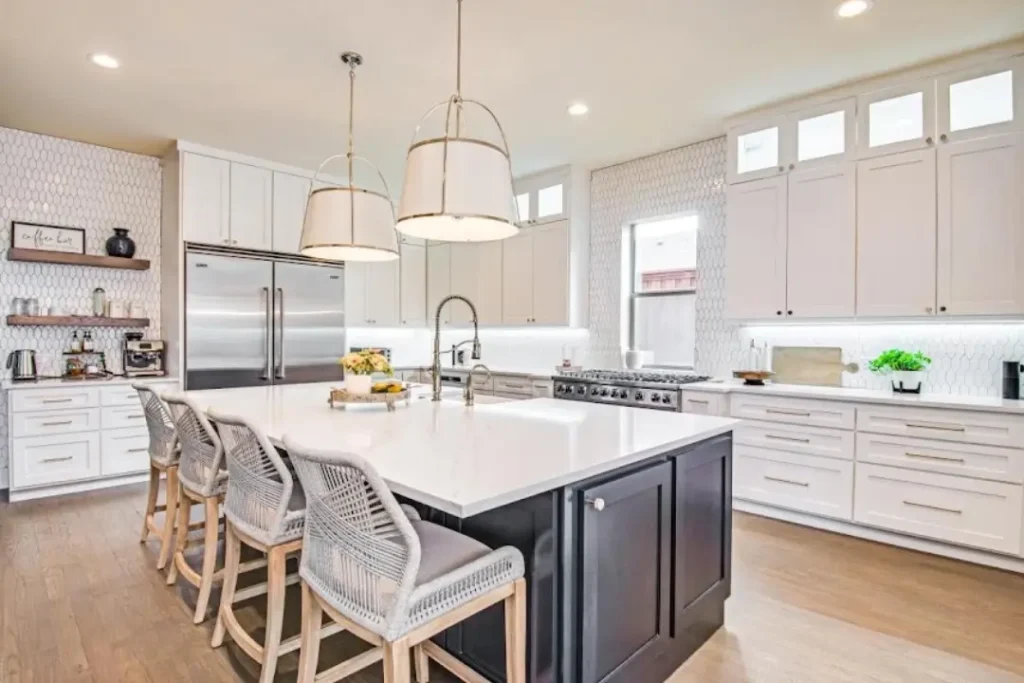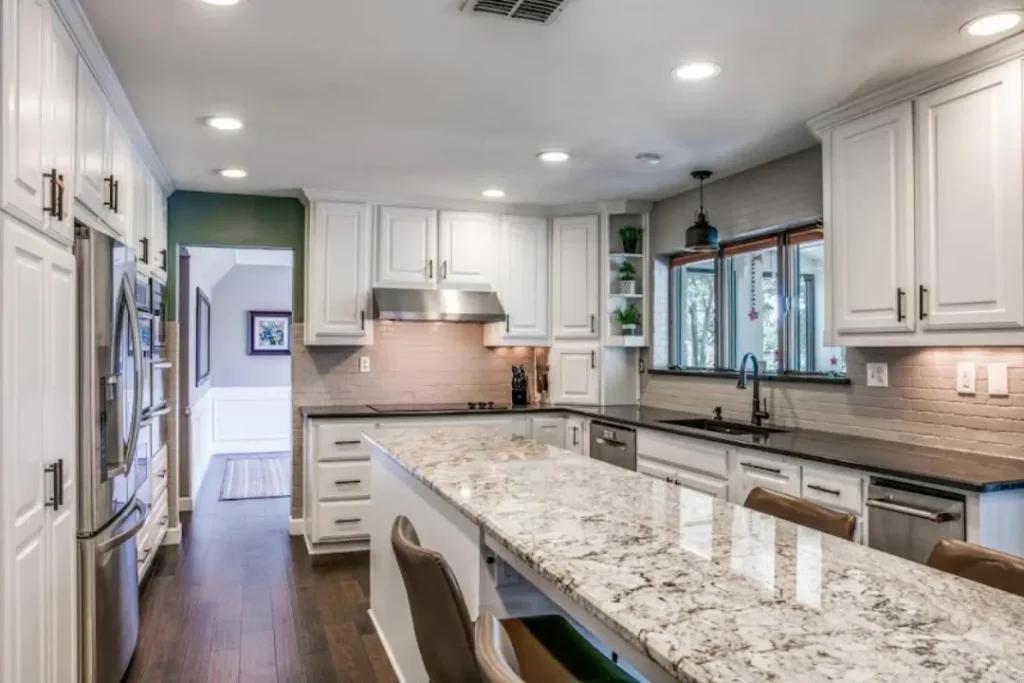
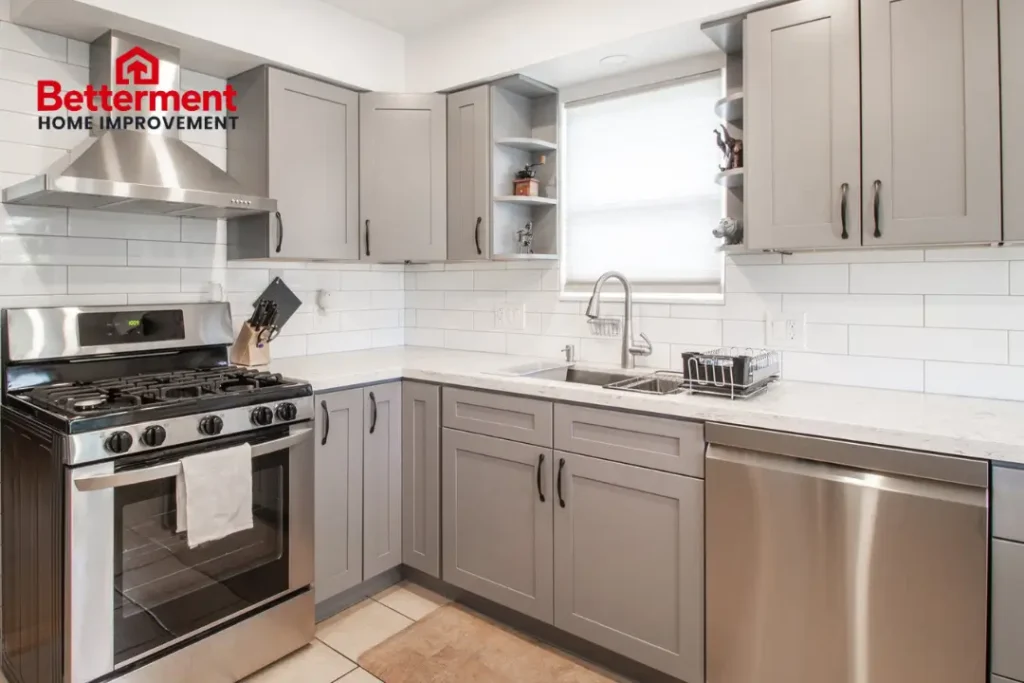
To remodel a kitchen sink, plan before removing the sink. Check countertop material, cutout dimensions, cabinet space, angle-stop valves, drain configuration, and layout. Choose a sink that fits the space, countertop, faucet-hole configuration, and your needs.
Remove the sink and adjust the opening using the manufacturer’s cutout template and setbacks. Install it with mounting hardware, undermount support, and neutral-cure silicone sealant.
Reconnect the faucet, water-supply lines, P-trap, garbage disposal, and dishwasher drain or air gap. Test water flow, drainage, connections, seal, and leaks.
Along with this DIY approach, explore our professional process below.
Our Professional Process to Remodel a Kitchen Sink
Remodeling a kitchen sink involves more than replacing fixtures. Go through these steps to see how we approach sink remodeling as professional remodelers in Tulsa, OK.
1: Assess the Existing Sink and Kitchen Layout
We start by inspecting the existing sink, sink base cabinet, countertop, countertop cutout, plumbing connections, and surrounding kitchen layout.
This step gives us a clear understanding of the current setup and any limitations that could affect the remodel.
We also discuss the homeowner’s preferred sink style, size, and functionality. Based on these details, our team determines the most practical approach and identifies any changes needed before installation begins.
2: Select the Right Sink and Fixtures
Once we understand the project requirements, we determine which sink and fixtures are appropriate for the kitchen. We assess the available space, existing plumbing, countertop compatibility, and homeowner preferences before making recommendations.
Key factors we consider when selecting the sink and fixtures include:
- Sink dimensions and available installation space
- Mounting configuration and installation requirements
- Basin configuration for everyday kitchen use
- Faucet-hole spacing and fixture compatibility
- Countertop material and sink compatibility
- Clearance for waste-disposal systems
- Clearance for water-filtration system installation
- Overall appearance and preferred kitchen design
- Everyday functionality and ease of use
- Compatibility with the existing kitchen layout.
3: Prepare the Work Area
Before removing the existing sink, we prepare the surrounding work area to protect the kitchen from unnecessary damage or mess.
We shut off the hot- and cold-water supply at the angle-stop valves, relieve pressure from the lines, and inspect the P-trap and drain assembly before disconnection.
Cabinets and nearby surfaces may also require protection during the work. Proper preparation allows us to work more efficiently while reducing the risk of damage to surrounding finishes and fixtures.
4: Remove the Existing Sink
With the area prepared, we carefully disconnect the existing water-supply lines, faucet, drain tailpiece, P-trap, and garbage-disposal flange where applicable.
We then remove the sink’s mounting clips, support brackets, and silicone sealant before lifting it from the countertop.
The removal process varies depending on whether the sink is drop-in, undermount, or another style. We take care during this stage to protect the countertop and surrounding cabinetry from unnecessary damage.
5: Modify the Countertop Opening if Needed
After removing the old sink, we inspect the countertop opening to determine whether it matches the new sink manufacturer’s specifications.
We use the sink’s cutout template to verify critical measurements and assess the countertop material before making any adjustments.
We check:
- New sink manufacturer’s specifications and requirements
- Sink cutout template and opening dimensions
- Corner radius and required countertop setbacks
- Clearance from backsplash and cabinet structure
- Quartz, granite, or solid surface materials
- Wet-cut diamond tooling for countertop modifications
- Dust-control techniques during countertop cutting
- Precise and level countertop opening
- Secure sink fit and proper edge support
- Proper alignment with surrounding cabinetry.
6: Install and Secure the New Sink
Once the opening is ready, we position the new sink and verify the countertop reveal, level, and alignment with the surrounding cabinetry.
We apply an appropriate neutral-cure silicone sealant and use the mounting hardware recommended by the sink manufacturer.
For an undermount installation, we secure the sink with a properly rated support system, such as mounting rails, brackets, or structural supports beneath the countertop.
Careful positioning and support at this stage help create a clean, watertight installation while providing the stability needed for long-term everyday use.
7: Reconnect the Plumbing and Fixtures
After securing the sink, we reconnect the faucet and plumbing components using compatible fittings and properly aligned connections. We then restore the water supply gradually and inspect every connection for leaks.
Plumbing components and connections we inspect include:
- Braided stainless-steel supply lines for faucets
- Compatible compression fittings for supply connections
- Drain assembly and properly aligned connections
- P-trap connection and drain trap
- Garbage disposal and disposal flange
- Dishwasher drain line and connection
- Other required plumbing components and connections
- Angle-stop valves for water supply restoration
- Supply lines checked carefully for leaks
- Slip-joint connections inspected for proper sealing
- Dishwasher air gap where required
- Properly configured dishwasher high loop
- Gradual water supply restoration and testing
- Complete plumbing inspection before final completion.
8: Test the Completed Sink Installation
The final stage of our process is pressure and leak testing the completed installation.
We run the faucet to verify hot- and cold-water flow, operate the garbage disposal where applicable, and perform drainage and flow-rate testing to confirm that the drain assembly and P-trap function properly without backups or slow drainage.
We also inspect the area beneath the sink for moisture, leaks, or movement and examine the sink-to-countertop seal for gaps or incomplete adhesion.
After making any necessary finishing adjustments, we clean the work area and confirm that the completed kitchen sink installation operates safely and properly.
Living in Tulsa or nearby areas in Oklahoma? Contact us for professional kitchen sink remodeling, where precision and quality are carefully maintained.
Which Sink Style Should You Choose?
Choosing a kitchen sink comes down to your kitchen design, available space, and daily needs.
Here are popular styles and materials we often recommend.
- Undermount Sink: Installed under the countertop, this sink gives the kitchen a clean look and makes wiping crumbs directly into the basin easier.
- Farmhouse Sink: With its large front panel, a farmhouse sink adds a classic look while offering a deep basin for washing large dishes.
- Drop-In Sink: This sink sits on top of the countertop and is easy to install, making it a practical choice for many kitchens.
- Workstation Sink: A workstation sink includes useful accessories such as cutting boards and colanders, helping homeowners make better use of their counter space.
- Single-Bowl Sink: With one large basin, this sink gives you plenty of space to wash large pots, pans, and other kitchen items.
- Double-Bowl Sink: Two separate basins make it easier to handle different tasks, such as washing dishes on one side and rinsing them in another.
Which Kitchen Sink Material Is Right for Your Remodel?
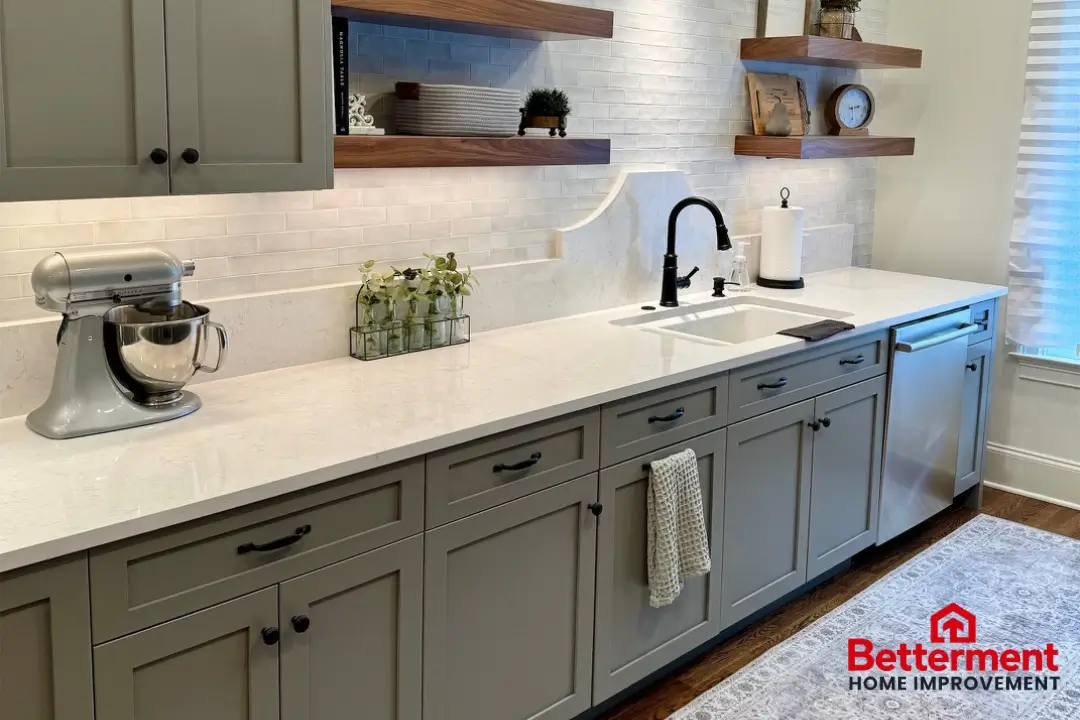
Sink material affects durability, maintenance, appearance, and overall cost. These are several popular materials we consider when choosing a sink for a kitchen remodel.
- Stainless Steel: Stainless steel is durable, easy to clean, and works well with many kitchen styles, from modern to traditional.
- Granite Composite: Granite composite sinks are strong and resist scratches, stains, and heat, making them a good choice for busy kitchens.
iii. Fireclay: Fireclay has a smooth, durable surface and a classic appearance that works especially well with farmhouse and traditional kitchen designs.
- Cast Iron: Cast iron sinks are very durable and have a strong enamel coating that helps resist stains while offering a timeless look.
- Copper: Copper sinks add warmth and a unique appearance to the kitchen, while their natural surface also has antimicrobial properties.
- Porcelain: Porcelain sinks offer a smooth surface and classic style, making them a good fit for traditional and timeless kitchen designs.
Should You Remodel Your Kitchen Sink or Simply Replace It?
Sometimes, replacing the sink is all your kitchen needs. If your countertop, cabinets, plumbing, and surrounding area are in good condition, a new sink can give the space a fresh look without major work.
It can also improve how you use the kitchen. We look at the current sink, plumbing, countertop, and your goals before deciding whether a simple replacement is enough.
A larger remodel may be better if you want to change the sink location, update old plumbing, modify the countertop, or improve the cabinets and fixtures around it.
It can also make sense when several parts of the sink area are worn or outdated. Our team checks the entire area before recommending the best option.
What Should You Consider Before Remodeling Your Kitchen Sink?
Before remodeling a kitchen sink, consider its look, size, features, and daily use to create a setup that works well for your kitchen.
Sink Size and Available Space
The sink needs to fit the countertop and cabinet space properly. Measure the area and check nearby cabinets and appliances before choosing a size. You need enough basin space for daily tasks without losing too much valuable counter space or making the kitchen feel crowded.
Sink Style and Kitchen Design
The sink should match the overall style of your kitchen. Look at the cabinets, countertops, hardware, and other finishes before choosing a sink style. If you prefer a modern, farmhouse, or traditional look, the right sink can make the kitchen feel more complete and balanced.
Number of Sink Bowls
Single-bowl and double-bowl sinks work differently for everyday tasks. Think about how you normally use your kitchen before choosing between them. A large single bowl works well for washing big pots, while two bowls can make washing and rinsing dishes easier when handling multiple tasks.
Faucet Placement and Features
The faucet should work well with both the sink and countertop. Check the available space and sink design before choosing its placement. Features such as pull-down sprayers, soap dispensers, and water filters can also make everyday kitchen tasks easier. Choose features that suit how you use the sink.
Cleaning and Maintenance
A good sink should be easy to clean and maintain. Consider the sink material, shape, surface, and installation style before making a final choice. The right combination can make cleaning easier and help the sink stay attractive and useful through years of regular kitchen use.
What Are the Technical Requirements Before Remodeling a Kitchen Sink?
Before remodeling a kitchen sink, several technical details need to be checked. We inspect the plumbing, countertop, cabinet space, water lines, and drainage before starting.
Sink size and faucet holes also matter. In most cases, water supply lines are around 3/8 inch, while drain pipes are commonly 1½ inches.
Checking these details early helps avoid installation problems:
- Check 3/8-inch hot and cold water lines.
- Inspect the 1½-inch drain pipe condition.
- Measure the countertop opening for sink fit.
- Allow enough cabinet space underneath the sink.
- Check drain alignment before installing a new sink.
- Confirm faucet holes match the selected sink.
- Check garbage disposal electrical connection and outlet.
- Use proper sealant around sink edges.
Can You Remodel a Kitchen Sink Yourself or Hire a Professional?
A simple sink replacement can be a DIY project if the new sink fits the existing countertop and plumbing.
If you are not changing the plumbing, cutting the countertop, or moving the sink, the work may be fairly simple.
Still, check the measurements, connections, and sink fit before starting. Basic tools and some plumbing experience can also make the job easier.
A professional is a better choice when the countertop needs cutting, plumbing needs to move, or electrical work is involved.
DIY mistakes can cause leaks, poor drainage, countertop damage, or a loose sink. For example, a small water leak can also damage the cabinets underneath.
We handle these parts carefully to make sure the new sink is secure, sealed, and working properly.
Final Words
One important tip is to choose the sink before cutting the countertop. Different sinks can have different cutout sizes, corner shapes, mounting needs, and faucet-hole layouts.
If you are considering a DIY project, check the cabinet space for the drain, garbage disposal, and water lines before starting. These details can cause problems if missed.
Experts at Betterment Home Improvement check these points before installation so the sink fits properly, works well, and leaves space for future plumbing repairs.